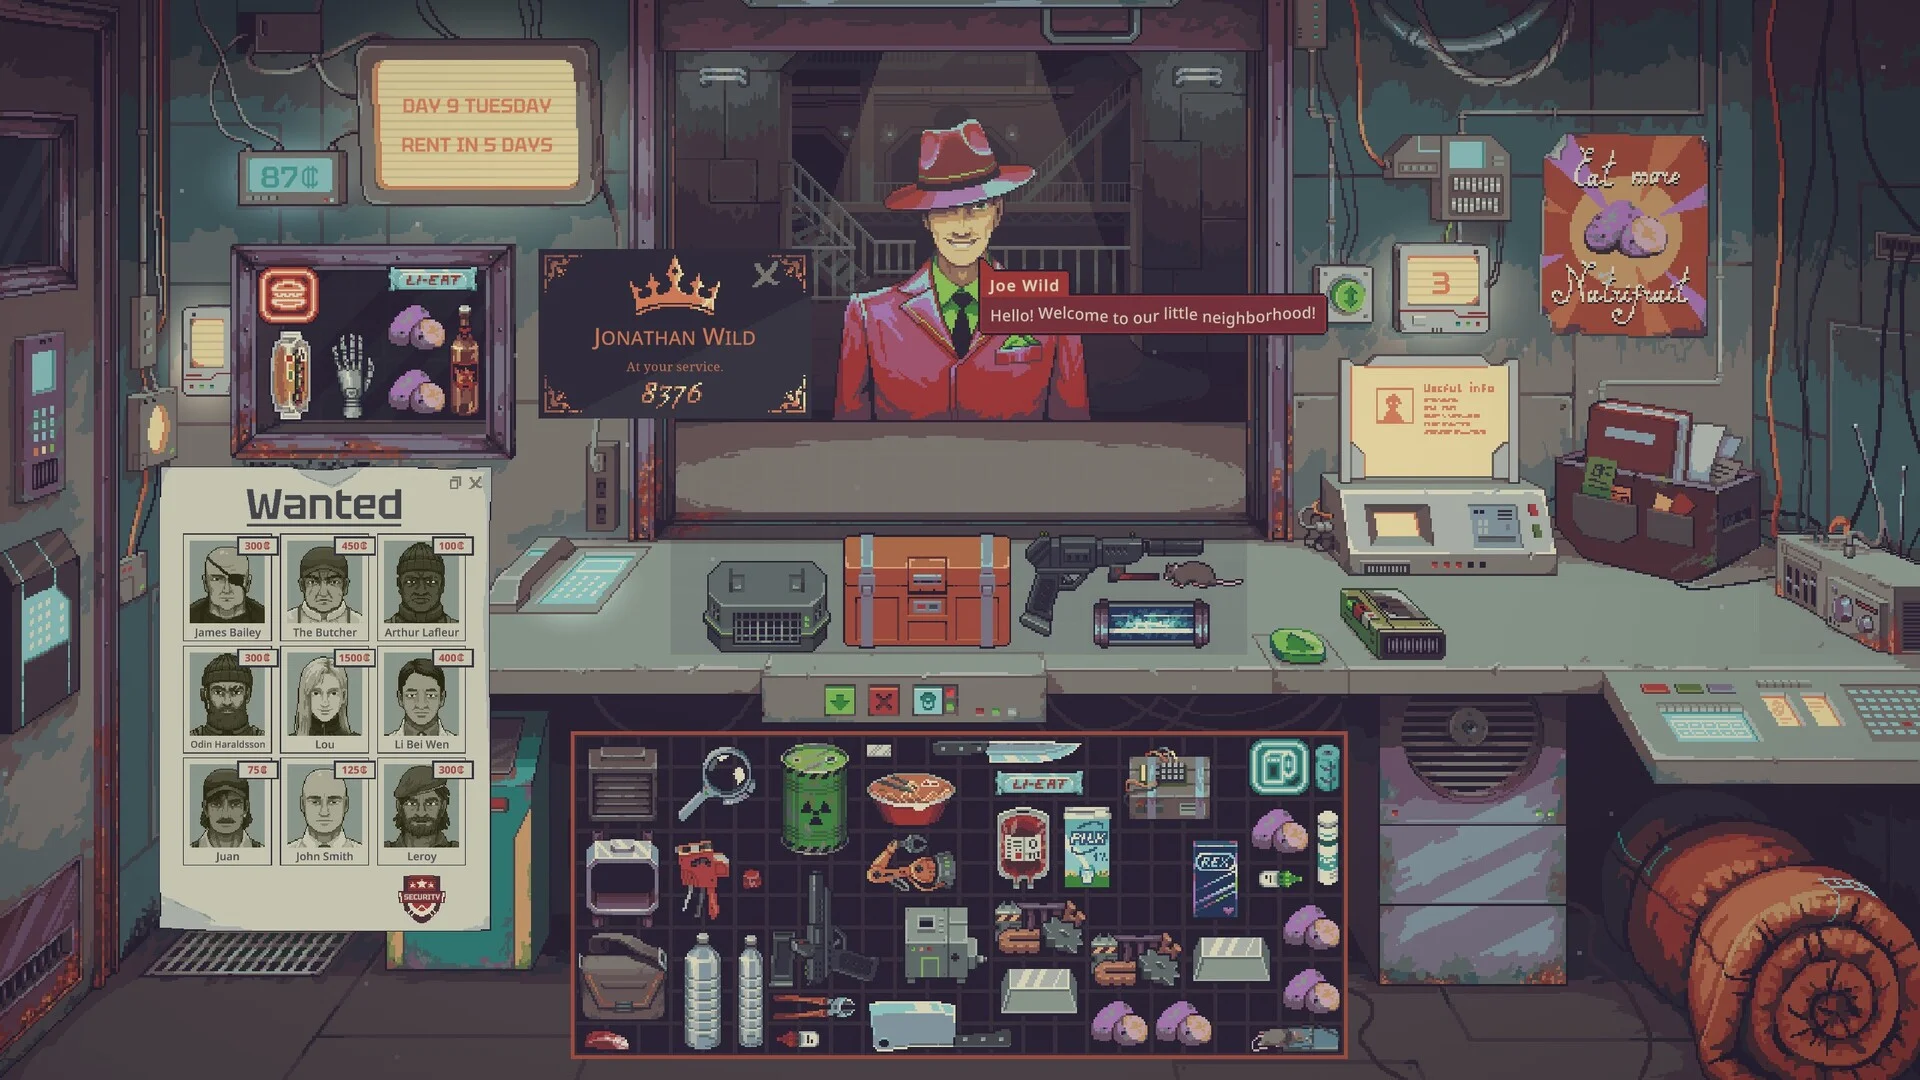
- Rat farming turns two starter rats into a profitable meat empire in Probably Stolen.
- S-tier traits for breeding are Fertility and Growth Rate.
- Keep hunger above 200 (ideally ~400) or rats grow slower and can starve overnight.
- Butcher at 351g+ for Raw Meat; avoid overcrowding and disease penalties.
- Never feed rats rat meat — permanent prions disease ruins your bloodline.
Getting Started with Rat Farming
Rat farming in Probably Stolen is one of the most reliable credit engines in the game. You start with a pair of rats, breed them into an army, and harvest them for meat that sells for serious credits. There are two ways into the system.
Video Highlights:
- Full walkthrough of breeding, hunger, and gene mechanics
- Trait tier list for maximizing meat output
- Butchering weight tables and disease penalties
- Food sourcing tricks: commissary, janitor exchange, furnace scrap
Two Entry Paths
| Method | Cost | What You Get |
|---|---|---|
| Unlock Ranching from Joe Wild | 500 credits (425 with bonuses) | Starter kit, rat rancher vendor, all rancher content |
| Rat Wrangler start (new game) | Free at character creation | Animal cage, rats, serum, food |
If you know you want a meat empire, choosing the Rat Wrangler option at new-game creation gives you the full starter kit for free — the same bundle you'd otherwise buy from Joe Wild.
The basic loop: rats live and breed in cages, you feed them nightly, they mature at 3 days old, and you harvest them with a meat cleaver or skinning knife (unlocked by butchering 100 animals).
Trait Tier List & Gene Mechanics
Buy the gene scanner from the rat rancher for $300 to unlock advanced stats. Every trait splits into LLA and LLB genes inherited from each parent — the displayed number is the average. Offspring roll a Punnett-square style combination with a 1-in-4 chance per gene pair, no dominance.
Colors on the scanner: teal = within ±5% of baseline, green = above baseline, red = below.
Trait Rankings for Meat Production
| Tier | Trait | Why It Matters |
|---|---|---|
| S | Fertility | Nightly pairing uses the lower partner's fertility; higher = more pregnancies |
| S | Growth Rate | Higher rate = more weight per day on the same food cost |
| A | Litter Size | Female determines pups; value like 3.75 = 3 guaranteed + 75% chance of a 4th, plus a -1/0/+1 random roll |
| A | Immunity | 50+ = never sick; under 25 = loses health nightly |
| B | Longevity | Rats decline after age 10, 75% nightly death chance at 14; +10% longevity adds ~2 days |
| C | Hunger Rate / Max Health | Marginal for a meat-focused operation |
A diseased rat has drastically reduced fertility (e.g., 50% drops to ~12%), produces 25% less meat when butchered, and losing weight means losing credits. Use the Livestock Immunity Serum (+20 immunity for 4 days) before breeding key females.
Fertility Build
- Priority: Fertility + Litter Size
- Fast colony growth
- Best early-game focus
Meat Build
- Priority: Growth Rate
- Maximum weight per food spent
- Best for slaughter lines
Serums
- Immunity Serum: +20 immunity, 4 charges
- Growth Serum: faster growth, lower immunity
Feeding & Hunger System
Every night, each rat digests 65 hunger, then eats. Hunger acts as stored kcal (capped at 500). Under 200 hunger, rats grow slower; at zero overnight, they die.
| Mechanic | Rule |
|---|---|
| Nightly digestion | -65 hunger per rat per night |
| Optimal hunger | ~400 (dispenser tops off at 425) |
| Storage cap | 500 kcal; overfeeding whole items wastes kcal |
| Starvation | 0 hunger overnight = dead next day |
| Feed Dispenser | Blends items into shared kcal storage, auto-tops rats to 425 |
Before you have a dispenser, drop food items directly into the cage — but the game randomly assigns which rat eats which item, so some rats go hungry. The dispenser solves this entirely.
Feeding rats their own meat causes prions disease — a permanent penalty to immunity, growth rate, and longevity that passes to offspring. Keep rat meat out of the dispenser.
Emergency Food Sources
- Commissary: trade tokens — processed milk gives the best kcal per token, then peat, juice, NutriFood, Galaxy Blend. Note: fully out of stock during a Nutri harvest famine.
- Janitor service: drop ammunition in the trash can; janitors return with food the next morning (plan ahead).
- Food thief + black lamp: catch the thief; stolen items with heat still blend into the dispenser fine.
- Items with zero kcal (chew tabs, energy drinks) cannot go in the dispenser.
Cage Management & Overcrowding
Cages start with 3 rows and expand 5 times using metal ingots (low-quality ingots from the blast furnace module work fine). Durability drops nightly; at low durability, rats escape. Repair with scrap metal.
Overcrowding Stages
| Stage | Trigger | Effects |
|---|---|---|
| None | ≤55% cells used | Normal |
| 1 | >55% cells used | Double durability wear, higher sickness from poop, fertility drops |
| 2 | More rats | Rats start fighting, occasional deaths |
| 3 | Severe | Frequent fighting, 25-33% overnight deaths likely, more disease |
The cleaner bot (kept charged with a battery) sucks up poop automatically. Leftover poop increases sickness chance — especially deadly in an overcrowded cage full of babies.
Butchering & Selling for Maximum Credits
Meat tiers are based on rat weight. The rule of thumb: every 50g adds 15 credits. Always butcher at least 1g over a multiple of 50 to secure the extra cut.
Butchering Weight Table (Healthy)
| Weight | Yield | Value |
|---|---|---|
| 1-50g | Small Morsel | ~15 credits |
| 101-150g | Morsel + Small Morsel | 45 credits |
| ~300g+ | Multiple cuts | ~90 credits |
| 351g+ | Raw Meat | 120 credits |
Diseased rats take a 25% weight penalty at butchering — a 400g sick rat drops to 300g and yields 90 credits instead of 120. The penalty hurts more the heavier the rat.
Display Case Customer Tiers
| Display Value | Customer | Spending |
|---|---|---|
| Under 145 | Basic hungry customer | Low |
| 145-349 | Expedition supplier | Medium |
| 350+ (after day 14) | Private chef / luxury buyer | High |
Build the Breeding Stock
Prioritize Fertility and Litter Size to grow from 2 rats to a full cage, keeping overcrowding at zero.
Separate the Meat Line
Breed Growth Rate specialists and feed via dispenser to keep hunger near 400.
Grow to 351g+
Wait for the extra gram past a multiple of 50 before harvesting with your skinning knife or cleaver.
Stock the Display
Place 3 Raw Meats (350+ value) after day 14 to attract private chefs and sell in bulk.
Rat Empire Milestones:
- Unlock Ranching or start as Rat Wrangler
- Purchase the gene scanner (300 credits)
- Install a feed dispenser in the cage
- Keep hunger above 200 on every rat
- Expand cage to max size and repair durability
- Reach 351g+ rats and stock a 350+ display
FAQ
Q: When can rats start breeding in rat farming?
Rats breed once they reach 3 days old and gain the mature tag. Each night, rats pair randomly and roll pregnancy chance based on the lower fertility of the two partners.
Q: What are the best traits to breed for meat?
Fertility and Growth Rate are the S-tier picks. Fertility ensures consistent pregnancies, while Growth Rate increases daily weight gain — and weight directly determines meat value — without extra food cost.
Q: Can rats die from neglect?
Yes. Rats at zero hunger overnight die the next day, rats under 25 immunity lose health nightly, and overcrowded cages cause fighting deaths. Diseased rats also suffer a 25% butchering weight penalty.
Q: How do I get more food for a large rat colony?
Use the feed dispenser to avoid waste, buy processed milk at the commissary (best kcal per token), catch the food thief with a black lamp, or send ammunition through janitor service for overnight food returns.
Rat farming rewards patience: keep cages clean, hunger high, and overcrowding at zero. A well-bred growth line butchered at 351g+ and sold to private chefs is among the most consistent credit farms in Probably Stolen.